 James Borrell is a biodiversity scientist and science communicator researching how people and nature can adapt to environmental change.
How To.. Choose A Camera To Take On Expedition (and how to keep it safe)
This is such a big topic, that I’ve been putting off writing it for months. I’ll should start with the caveat that I’m not a professional photographer, but with modern digital cameras you don’t need to be to still produce something worthwhile.
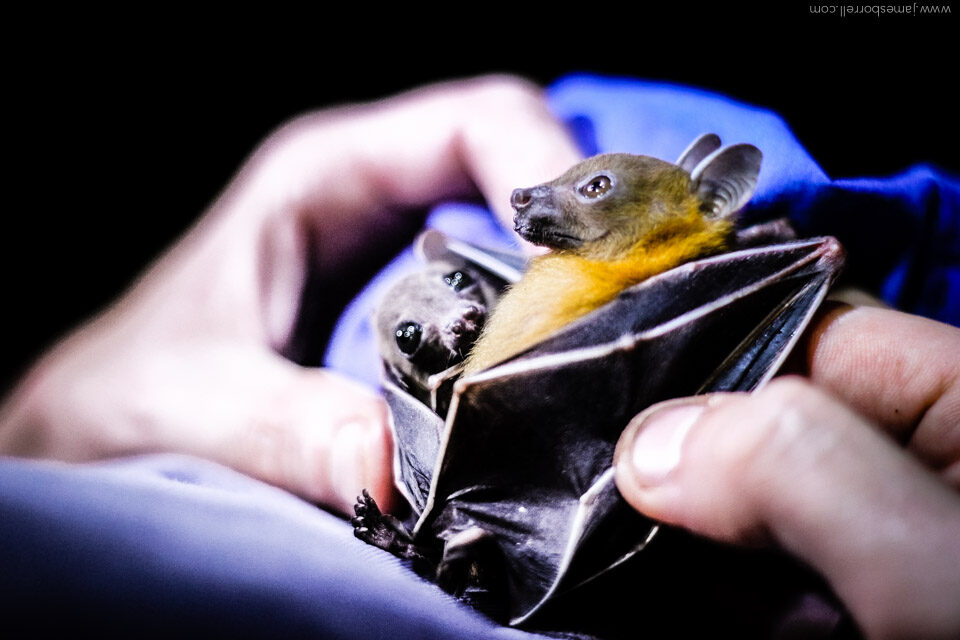
Photography is an incredibly important tool for conservation. You can have all the data and research papers in the world, but unless you inspire action then conservation will remain an uphill struggle. Photographs, especially from research expeditions in those parts of the world that are still remote and beautiful, are a wonderful way of doing just that.
So this article is aimed at helping conservationists choose and look after the right camera equipment, in order to bring those iconic conservation images back home to the public.
First A Touch Of Inspiration
Ever heard of the International League of Conservation Photographers? Probably not, but you would have almost certainly seen some of their images. They produced the video above which provides a pretty compelling introduction to the idea of conservation photography.

Choosing A Camera For Expeditions
The most important piece of advice I can offer is to do the expedition. Don’t put it off or cut corners to save up for a camera. Do the expedition, do your fieldwork, do what you have to do first; take pictures second with whatever camera you have.
If you can get your hands on an old family or friends camera, then great, use that (but tell them you’re going on an expedition, and make no promises about it’s condition!) But if you’re looking to buy one, perhaps second hand, then there are three main options, each with pros and cons.

Point-and-Shoot
This covers a range of small, light and cheap cameras. Quality has improved markedly in recent years and most people have one lying around. Because expeditions are tough on technology and electronics, these small robust cameras are a great place to start.
Advantages
- Small and lightweight, so easier to carry.
- Waterproof and shock resistant models available (review).
- Often cheaper than bridge or DSLR cameras.
- Being smaller, you might be more likely to have it with you for candid shots – most will even fit in your pocket.
- Small cameras gain less attention, especially in villages and towns.
- Good battery life.
Disadvantages
- Generally poorer image quality (but improved substantially in recent years).
- Particularly poor at longer range wildlife photography.
- Most have poor performance in low light conditions (e.g. rainforests).
- If you get into photography, you will probably want to upgrade quite quickly.
- Some of the newer models can even cost more than a second hand DSLR!
Examples: Panasonic Lumix DMC-FT5 (review), Sony Cyber-shot DSC-RX100 III (review)

Bridge Cameras
Quite literally a bridge between small, light point-and-shoots and the bigger, heaver DSLRs. They generally have one fixed, but versatile lens, and offer more user control over things like shutter speed and aperture than standard point and shoots.
Advantages
- A lot more versatile than point-and-shoot cameras.
- Represent a good introduction to photography before using a full DSLR.
- Highly versatile main lens.
- Often cheaper than DSLRs
- They often spot a good zoom range, but at the higher end image quality decreases.
Disadvantages
- Generally poorer image quality (but improved substantially in recent years).
- Particularly poor at longer range wildlife photography.
- More expensive than most point-and-shoot cameras.
Example: Panasonic Lumix DMC-FZ1000 (review)

Full DSLR cameras
If you’re serious about your photography, you will eventually find yourself moving towards the full capabilities offered by a DSLR (or an old film version). The field is of course huge, ranging from entry level cameras such as the Canon 100D (~£270), right up to full frame monsters like the Canon 1D X which will set you back a tidy £5000+.
An additional factor when it comes to DSLRs is lenses. This means both an added expense on top of the camera, but also means you can slowly develop your capability by adding lenses to your collection. In the same way that there are basic and more advanced camera bodies, there are cheaper and more expensive lenses.
Advantages
- Fully professional image quality.
- Enormous variety of lenses available.
- Ideal for longer range wildlife photography.
- Great for macro, long exposure, and other styles to make your photography stand out.
- Lots of extra add-ons and pieces of kit to give you versatility.
Disadvantages
- Most expensive class of cameras.
- Although some models are weatherproofed, lenses can be quite susceptible to damage if dropped or thrown about in expedition baggage.
- Generally heavy and large.
- You may have to carry several additional lenses to meet different situations.
- They attract a lot of attention, and people often act less natural when they have a big lens pointed at them.
- Airport customs often quiz you if you bring a lot of big lenses in.
- You might need to practice for a while to learn how to use it.
Example: Canon 550D (review)

Lawrence Ball with a bridge camera in Arctic Lapland (in summer!)
Practical Issues For Cameras On Expedition
Charging Your Camera
Remote area expeditions often mean very limited opportunities to charge electronics. Unfortunately, many cameras have specialist batteries, although battery life is often quite good. These are a few options to address this.
Cameras that run on AA batteries – AA Batteries are readily available in most countries around the world, and a reasonable supply can be carried in and out on expedition. Unfortunately, there is a fairly limited number that can run on AA’s, most of which are bridge cameras. There’s a good selection here.
AA compatible battery pack – An alternative option mainly for DSLRs is to add a battery pack. It is often possible to power these on AA batteries, adding a lot of flexibility to DSLRs, the only downside is that they are rather bulky. Something like this, is a good example.
Powerpacks – For cameras with specialist batteries, it is sometimes possible to charge them via cable from a powerpack. This can extend battery life considerably, and is reusable. Powertraveller makes a good variety.
Solar Chargers – It all depends on the length of your expedition. In my experience, solar chargers can be a little hit and miss. In the short term, just taking a few extra AA batteries is a preferred option, but for longer periods solar panels come into their own. There’s a good variety here, but they’re not cheap! Hand crank chargers are also a possibility, but from experience take quite a lot of time and effort!
Temperature – It’s also worth remembering that batteries will not last quite as long in very cold conditions.
Lastly, Tim Moss over on the Next Challenge has an excellent article about charging equipment, highly worth reading.
Keeping Cameras Dry On Expedition
If you’re planning an expedition to the rainforest, then keeping equipment dry and functioning for the duration is a challenge. There are a few things you can do that help.
Firstly, once in a humid country, avoid bringing camera equipment in and out of any air-conditioned rooms (if you’re lucky enough to have one). Let it all acclimatise and you reduce the chance of fogging up.
Keep sashes of silica gel in each of your camera bags / boxes. Think ahead and save them up, the little bags that come when you buy electronic equipment are perfect.
Rain covers – It depends how lucky you’re feeling! There are a few, ranging from plastic sleeves up to ‘storm jackets‘.
There’s some advice on making your own, here, and a review of a few rain-cover options, here.

Looking after electronic equipment in Oman was quite a challenge.
Keeping Your Camera Free From Dust and Sand
A few years ago I took a DSLR to the Empty Quarter Desert in Oman. It’s the largest sand desert in the world, so not a wonderful place for cameras. Based on that experience, I’ve found three great tools for the job.
Firstly, a dust blower. Something like this, but you can find them much, much cheaper. It isn’t just for cleaning sensors, it can be used for the whole of the body too.
Secondly, wet wipes. They’re great for getting really fine dust off of not just humans, but cameras too.
Lastly, a silicone shell.There’s a variety of makes, to fit most different camera bodies. I find it very useful for keeping dust out of the areas around buttons and screens, plus it adds splash resistance too.
Keeping You Camera Protected On Expedition
One thing you might worry about is your camera or lenses getting crushed by piles of baggage or being thrown onto the roof of a van.
My favoured solution is Tuppaware. If tuppaware isn’t the answer to everything, then I don’t know what is. You could use something like a pelicase, but they are fairly expensive, very bulky, come in a limited variety of sizes, and always look like they have something valuable in.
Instead, I buy good quality clip-lock tupperware. Next, I cut up an old foam rollmat to line the inside, securing it with duct tape. Depending on the size of your camera/lenses or other items, you can then cut extra sections of foam padding, to ensure a snug fit. Tuppaware is really very cheap, strong and comes in such a variety of sizes that you’ll certainly be able to find just the box for your kit.

Some of the best photography shows ordinary objects from a new perspective.
Don’t Forget A Tripod
I’ve tried to get away without one many time, and it just doesn’t work. Tripods are a really essential part of photography. They don’t have to be expensive, just get the lightest, smallest, cheapest version you cant find to start out. I use this fairly cheap Manfrotto model, but almost anything will do.
If you’re really pushed for space and weight, there’s a couple of other things you could try:
Camera beanbags – you could even make your own, or stuff some clothes into a pillowcase for the ultra light expedition folk.)
Camera pods – similar to beanbags, but with an attachment. These are quite clever, and the explorer in me always thought you could fill the inside with rice as emergency rations!
Monopods – smaller and lighter than a full tripod, but less stable. Some clever folks have even turned their walking poles into a monopod!
Second Hand Is King
If you’re planning a conservation expedition, then the conservation and expedition parts should always be at the top of your priority list, with photography normally further down the budget.
With this in mind, I hugely advocate getting second hand equipment. Most expeditions will test camera gear far beyond what it normally experiences with the average user. With second hand equipment, it is normally in very good condition and you can worry slightly less in case something goes wrong and it ends up at the bottom of a swamp.
Aside from the usual places, London Camera Exchange and BHP Photographic have great second hand sections.

Perhaps my most memorable expedition photo.
Make Sure You Don’t Just Watch The World Through A Viewfinder
This last point is an important one. Next time you climb a well known landmark or see a memorable sunset, remember to stop for a moment and soak it up.
We go out into the wilderness on expeditions to experience that wilderness first hand with our eyes, not through a tiny quarter-inch viewfinder. Take photographs second, most things will wait a few moments for you to do both.
Photographs are great at helping to communicate stories, but are no substitute for the story itself.